
Hello! I have tweeted earlier today that I will be doing a makeup tutorial and upload it tonight but something went wrong during the whole process and I decided to try again another day... I really wanted to film a tutorial to see if I have improved since the last I did it so yeah.
So today, I will be doing a post about what makeup can do to improve our over-all appearance for a party, for example. Here's what I came up with. Guess what I did to make it special ^_^

The other half only has light foundation, concealer and a lip balm. It is very natural and good for everyday but the other side is perfect for parties. It still looks simple and not over the top but I added some things to make my assets more enhanced.
Have you guessed what I used? If you thought false eyelashes, eyebrows and circle lenses then you are correct. Grooming my brows and filling in the gaps to make it look cleaner and frame my face better is one of the steps I just learned last month. I never knew that filled in brows looks better haha I thought I don't neet it coz I have naturally bushy brows but I guess I', wrong.
I also chose to use a brown colored contact lenses instead of the blue or green ones because I didn't want to look too fake. Although I love colored contacts because they are fun (if you noticed from my older posts), but using contact lenses with almost the same shade as my natural color makes it hard for people to guess what I did to look prettier and I learned that I prefer it that way hehe. It actually worked because my mom once told me she can't pinpoint what I did but I look different (We went to a formal event that time) and a lot of people complimented me whenever I use my brown lenses.
Adding false eyelashes also opened up my peepers without me worrying of looking like a raccoon.. I usually don't apply mascara if I have a choice because I have very oily lids and I usually ends up looking like an emo at the end of the day because of that. But I don't suggest using falsies everyday because the glue can make your lashes a lot thinner in the long run coz you can sometimes pull out the lashes during removal.

Products used:
FACE:
Holika Holika Petit Clearing BB Cream
Tony Moly Berry Lovely Tip Concealer in #1
Ever Bilena pink powder blush (no shade name on the palette)
Ellana Minerals HD Powder
EYES:
EO contact lenses in honey (grade 3.50 both eyes...I think I needed to upgrade to 3.75)
Tony Moly Berry Lovely Tip Concealer in #1
MOD Minerals in Splendor (all over the lids)
Coastal Scents white eyeshadow from 88 matte palette (as highlight)
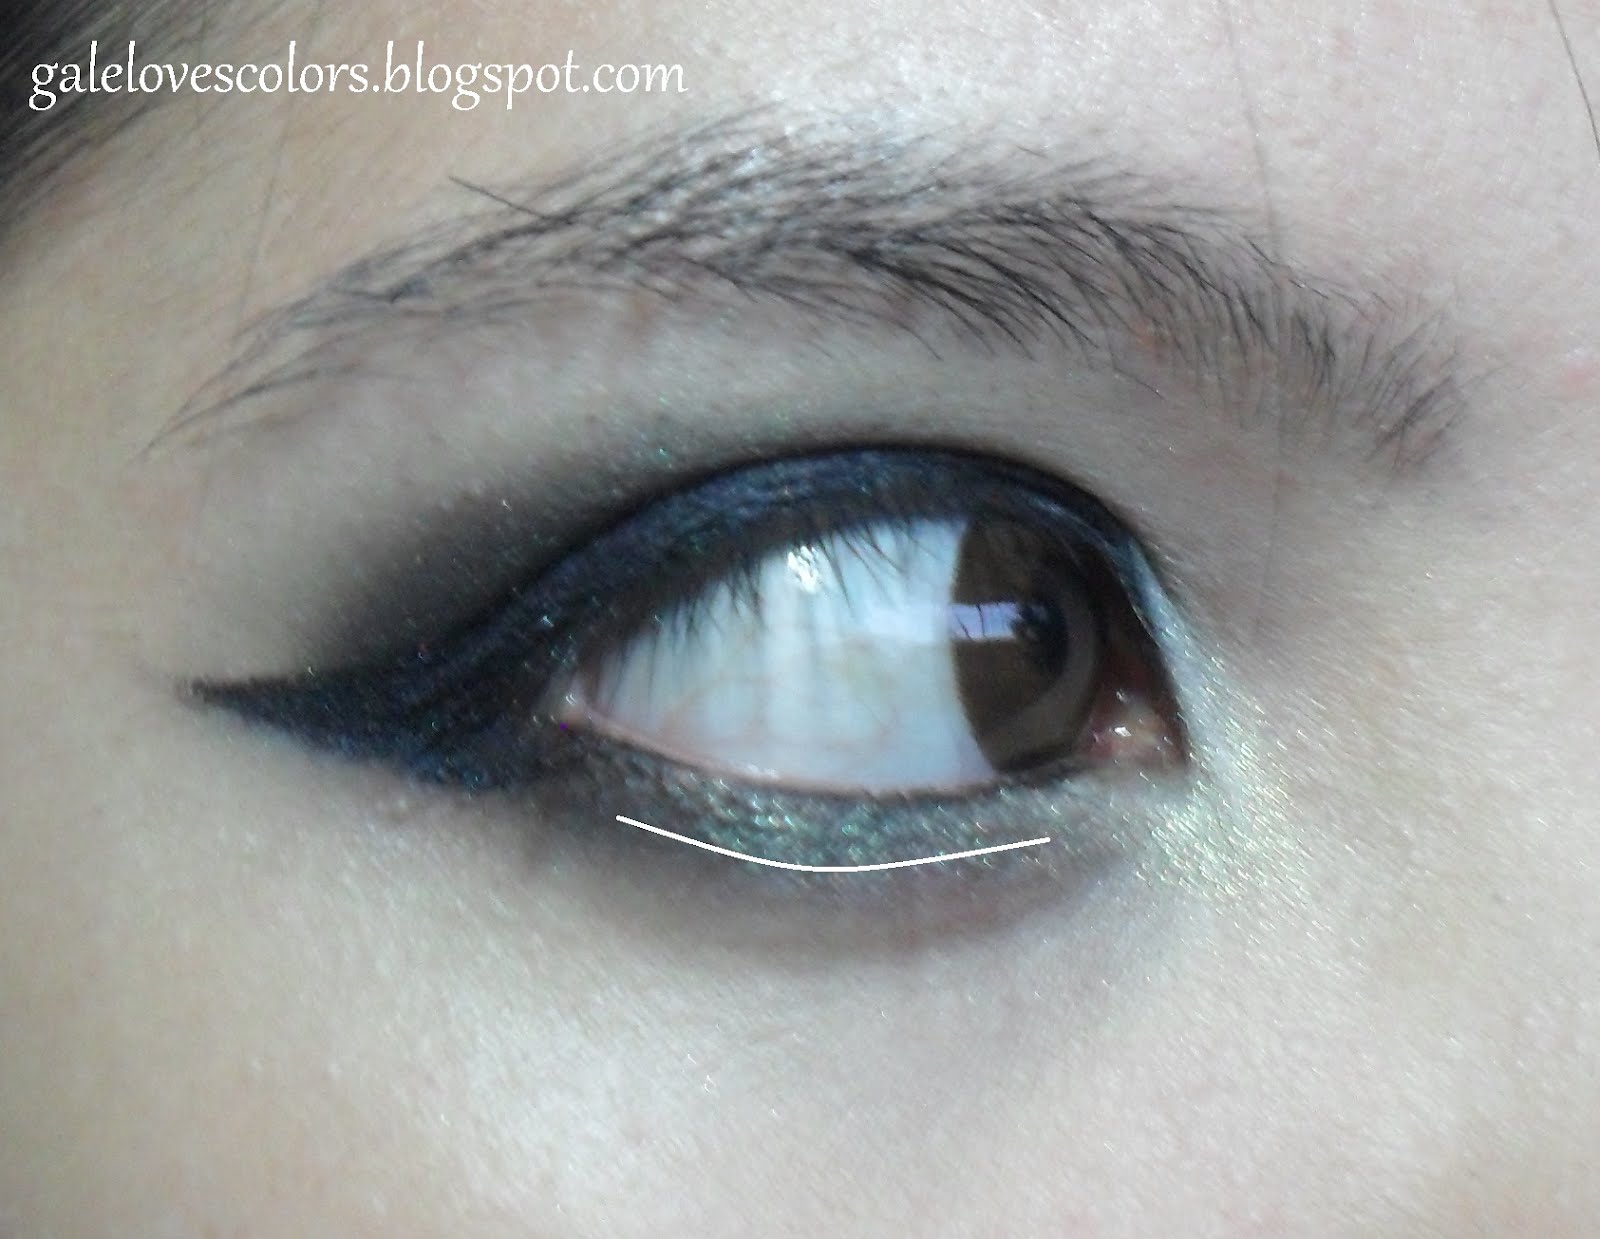
Coastal Scents black eyeshadow from 88 matte paletter (for smudging the liner and on lower lashline)
Tony Moly Backstage gel liner in black 01
MUFE star powder in 902 (inner corners and lower lashline)
Generic false eyelashes
Etude House eyebrow pencil in gray
LIPS:
Victoria's Secret lipgloss in Embrace
You see, you don't need a lot of products to enhance your natural beauty. Just choose one part of your face you want to emphasize and concentrate on that. I chose my eyes coz 99% of the time I wear eyeglasses and whenever I have an event to go to I wanted to show them off hehe.
What about you guys? What part of your face do you want to emphasize more when you do your makeup? Share them on the comment section below. Thank you for dropping by! ^_^




 Let's start with the base. I used Innisfree Trouble Care all over my face. I applied it using my finger tips. Don't forget to conceal the areas that needs to be concealed so that we can achieve a flawless canvass.
 Now, let's do the eyes. Apply your eyeshadow base of choice to help your shadows adhere to your eyelids and give a better color pay-off. I used MAC paintpot in Painterly.

 Apply the pink eyeshadow with dabbing motion all over your lids until crease. It should look like this:
 Get your fluffy blending brush, I'm using my MAC 217 brush, and pick up an orange color. This is the orange beside the pink shade from the CS palette.
 Apply it on the crease, overlapping with the pink, using a wiper motion. Don't forget to blend, blend, blend! You can retouch the pink and the orange until you achieved the intensity of the shade you want. Since I'm going to wear it out, I chose to make it subtle.
 Then using any fluffy brush you have, you can also use your flat shader brush for this, pick up a white eyeshadow for highlighting the browbone. This is the shade on the upper left corner of the palette. It is a matte white.
 Sweep the shadow on your browbone area and blend it with your orange crease color. Blending can help you achieve the flawless transition of the colors. You should not be able to see where each color ends and starts.
 This is how your eyes should look like now.
 Using your contour or pencil brush, I'm using Ellana contour brush, pick up a purple shade. This is the color just below the pink eyeshadow we used for the lids.
 Apply the purple on your lower lashline (3/4 from the outer corner).
 Apply it on the inner corners of your eyes and blend it.


 Curl your lashes once the eyeliner has dried already. I used my Shiseido eyelash curler for this step.
 Then apply your favorite mascara to help hold the curl of yuor lashes. I used Lancome High Definition mascara in black then removed excess products using a clean spoolie.
 Then if you have any fallouts or mistakes, just use a wet cotton buds to remove them. Once dried, apply a highlighter on your undereyes. I use Ellana Awake concealer and applied it using my Charm concealer brush.
 This also sets your undereye concealer so that it can last longer aside from making your eyes appear more awake.
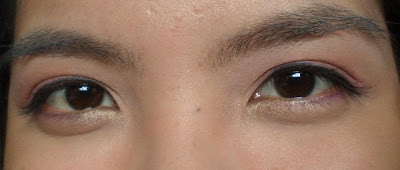 And this is our finished eye makeup!
 Now for the face:
 Then apply your blush of choice. I choose a pink one, Lumiere Ditt "O" blush, and applied it using a stippling brush, I used my Lumiere duo fiber powder brush because it has a smaller head than my MAC 187 so it fits my cheeks pretty well. Using a stippling brush also produce a "soft" blushing effect but you can also use your regular blush brush.


 And here's my outfit for today. I wore a long white tank top and blue jeans paired with baby blue flipflops. I also wore a hoodie on top since it's raining.
  Thank you for reading my very long post! Please suggest on what I can do to make my tutorials better. Tell me what you think. Post a comment! I'll be waiting for them :)